Scheduled Price Change Report - Store Employee
Scheduled Price Change Report Overview
The "Scheduled Price Change Report" displays only the upcoming cost or price changes that have been scheduled for each pricebook zone. It excludes any prices that were manually modified. Users can define a custom date range using the Start Date and End Date fields and apply sorting or filtering preferences to tailor the report output. If no data matches the selected criteria, the system will return a message indicating that the report data is empty. Users are encouraged to refine the filters or adjust the date range for more accurate results.
This article outlines the functionality of the Scheduled Price Change Report, including how to configure report parameters, understand system-calculated values, and interpret the output for each pricebook zone.
1. Reaching the "Scheduled Price Change Report"
To reach the "Scheduled Price Change Report," follow the steps below:
- Step 1: Log into Control Center
- Step 2: Choose Location
- Step 3: Choose Reports
- Step 4: Choose Inventory Reports
- Step 5: Choose Scheduled Price Change
You’ll find a variety of inventory reports designed to support different aspects of your retail operations. To view them, click on the Choose Report drop-down menu. This will display a list of available inventory report types, each offering insights for effective inventory management. See Figure 1.1.
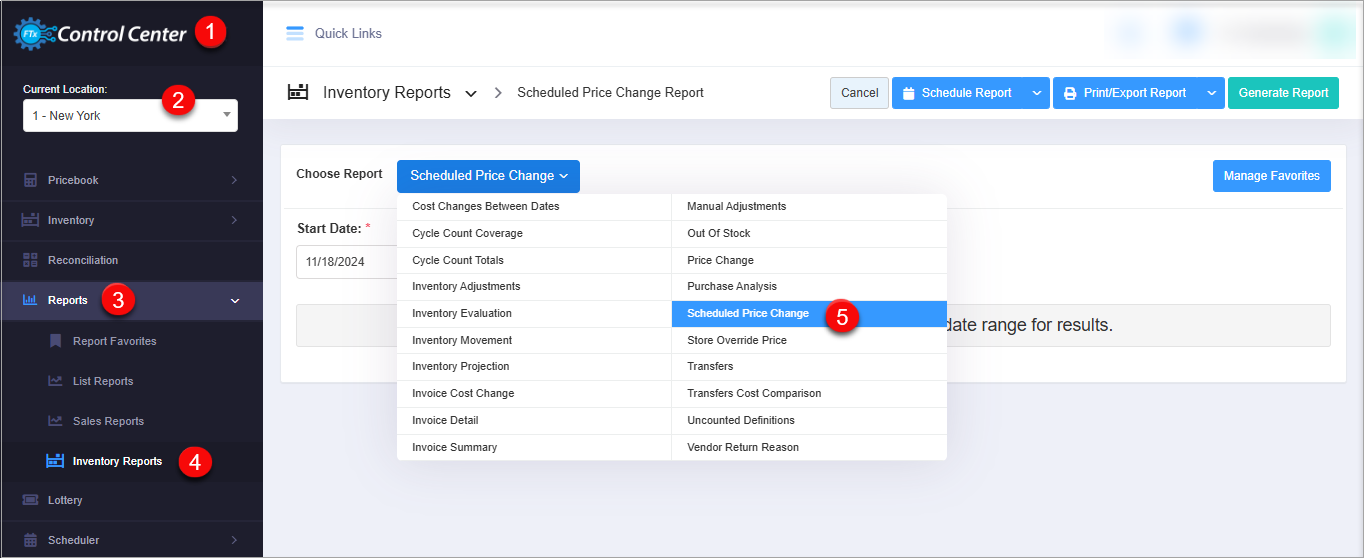
Figure 1.1
2. Understanding the "Scheduled Price Change Report" Layout
By clicking "Scheduled Price Change," you will be redirected to the "Scheduled Price Change Report," where you can see relevant filtering and sorting options.
Figure 2.1
3. Generating the "Scheduled Price Change Report"
To generate the "Scheduled Price Change Report," follow the steps below. (See Figure 2.1 above.)
- From the "Scheduled Price Change Report" page, you will see the Choose Report drop-down selection.
- By clicking the drop-down selection, you will see different types of inventory reports in alphabetical order.
- Search for "Inventory Report" from the list and click on it.
- Enter the date range and choose the pricebook zone for which you wish to have the report displayed.
The following data gets fetched in tabular format when you click on the "Generate Report" button in the top right corner; the "Scheduled Price Change Report" will be displayed as highlighted in Figure 3.1.
The following sales data is in tabular format when you generate the price change report:
1. Change Zone: This column will display the changed pricebook zone.2. Change Type: This column will display the action type that is chosen during the scheduling of the price change of the items.3. Change From: This column displays the previous price of the items before the price schedule.4. Change To: This column displays the updated price of the items post-price schedule.5. Scheduled At: This column displays the scheduling time at which the price of the selected items is scheduled to be changed.6. Changed By: This column displays the name of the person who scheduled the price change for the items.
4. Date Range & Presets
You can filter your sales data in the report by selecting specific dates from the Start Date and End Date drop-down calendars.
By clicking the Edit box, you will get the drop-down calendar to select the specific date range. You can also manually enter the date in mm/dd/yyyy format.
You can also generate a report with a specific time duration (until morning/evening), and you can select the particular time (hour and minutes) from the date selection. See Figure 4.1, Figure 4.2, & Figure 4.3.
- Start Date: This field lets you choose the start date of the date range.
Figure 4.1
- End Date: This field lets you choose the end date of the date range.
Figure 4.2
- Presets: The Presets label is provided to select the specific duration/interval to generate the "Scheduled Price Change Report" according to the selected time period.
Figure 4.3
5. Scheduling a Report
FTx Cloud POS supports report automation. You can configure a report and schedule it. The system will send the scheduled report to the indicated email IDs at the defined frequencies (daily, weekly, bi-weekly, monthly, quarterly, etc.).
6. Printing/Exporting a Report
You can print or export any report according to your requirements. When you use the Print function, the system creates and opens the report's PDF file in a new tab. You can download the soft copy or print the paper copy according to your requirements.
7. Manage Favorites
FTx POS Cloud allows quick access to the reports you need to view frequently through "Favorite Reports." You can save a report as a favorite and manage all your favorite reports from any of the report screens using the "Manage Favorites" button.
Related Articles
Price Change Report - Store Employee
Price Change Report Overview In the retail business, changing the product's price is common for various reasons. FTx Cloud POS provides the "Price Change Report," including both the cost change and the price change for the selected date range, so ...Store Override Price Report - Store Employee
Store Override Price Report Overview The "Store Override Price Report" provides a detailed list of items whose prices have been manually overridden at the point of sale (POS) within a selected store and date range. If a specific store location is ...E-Journal Report - Store Employee
E-Journal Report Overview The E-Journal Report (Electronic Journal Report) is a digital record of all transactions processed on the POS terminal. It functions like a digital copy of the cash register receipt tape, capturing every action done on the ...System Discounts Report - Store Employee
System Discounts Report Overview The "System Discounts Report" in the FTx Cloud POS system provides a detailed overview of all discounts automatically applied by the system based on predefined rules or promotions. This report is a collection of ...Negative Cashier Report - Store Employee
Negative Cashier Report Overview The "Negative Cashier Report" in the FTx Cloud POS lists negative actions taken in a specified store and date range. Negative actions include voids, cancellations, returns, and no sales. It shows all transaction ...